By Lisa Esile,
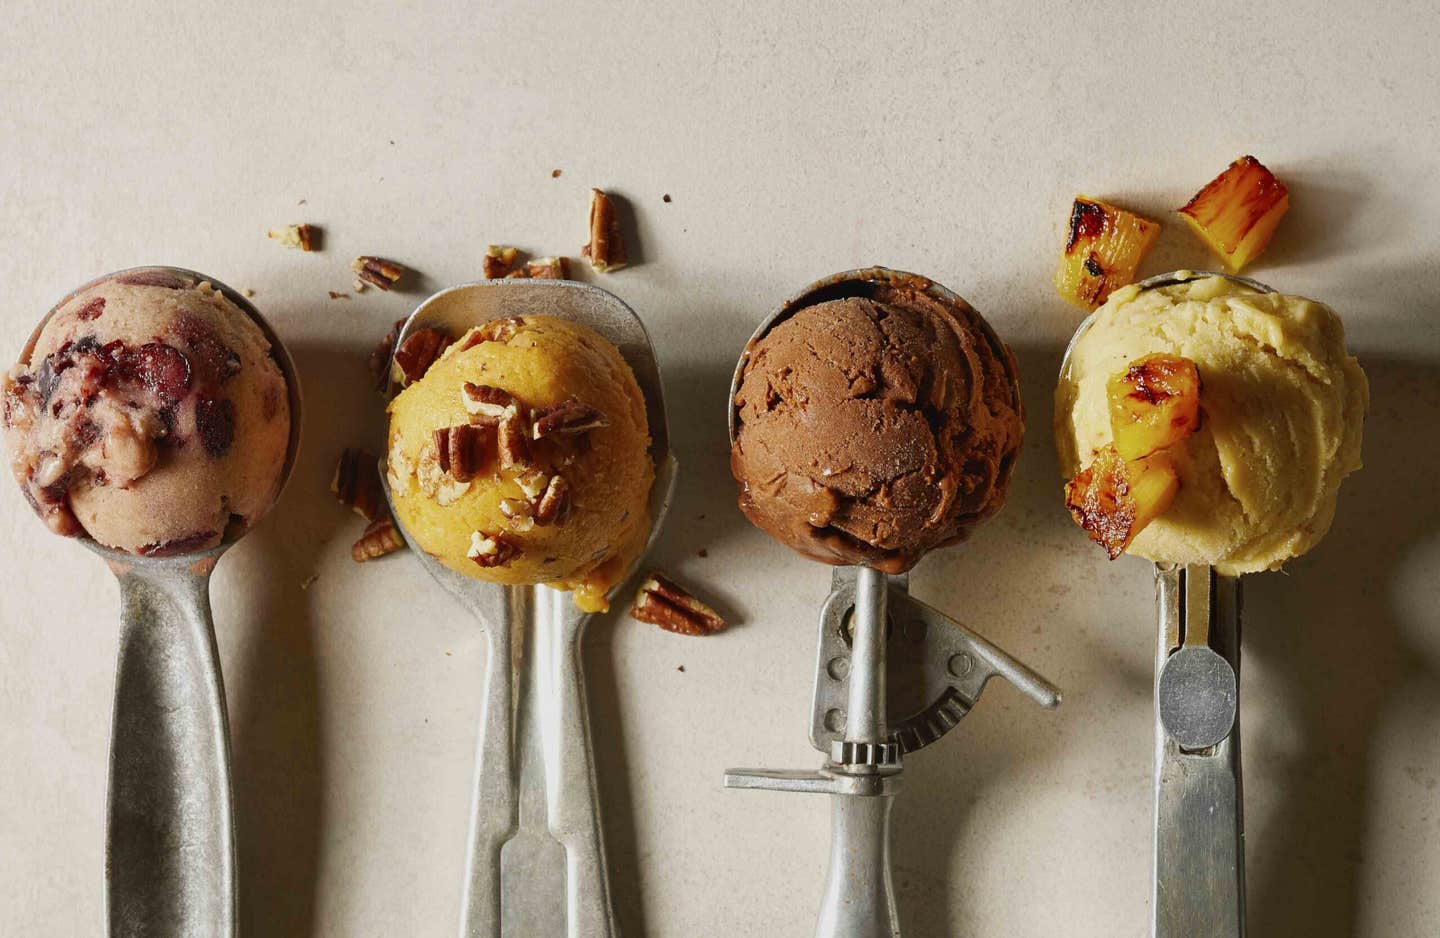
Last Updated:Ice cream is kind of a big deal in our household. The treat holds an extra special place in my husband's heart. As a native of New England, where the scoops are big enough to drive a lobster boat through, and as an ex-manager of a chain of ice cream stores, ice cream, for him, is one of the most challenging aspects of maintaining a whole-food, plant-based lifestyle.
So when my 17-year-old niece bought herself a Ninja Creami and started whipping up really good vegan ice cream that was “healthy enough to eat for breakfast,” I took note. Could this new machine really be that great? Would it satisfy my husband’s ice cream cravings? I decided to give it a try in a side-by-side comparison with other tools for making healthy vegan ice cream at home.
Table of Contents
- Top Tools for Making Healthy Vegan Ice Cream
- Ninja Creami Recipes
- Can You Make Nice Cream Recipes in the Ninja Creami?
Top Tools for Making Healthy Vegan Ice Cream
The age-old way to make ice cream—slowly churning a mix of cream, milk, sugar, and egg yolks in a frosty environment, incorporating air and ice crystals (two of the most important ingredients)—is difficult to replicate using low-fat, plant-based ingredients.
With the advent of the high-speed blender came the ability to blend frozen chunks of fruit into soft-serve-like nice cream—a must-try for healthy vegan cooks. There are some limitations: Nice cream is best eaten right after it’s made because leftovers freeze solidly into a block that’s hard to scoop, and the texture isn’t the same as store-bought vegan ice cream or sorbet.
Enter the Ninja Creami, which promises the best of both worlds—the ability to transform a wide range of healthy ingredients (not just fruit) into creamy, scoopable ice cream. We decided to test the Creami against other common tools for making nice cream and vegan ice cream at home, to get a sense for whether the buzzed-about new device is worth the hype. Two weeks and 25 pints later, the short answer is… yes.
Read on to see what we found.
Editor's Note: FOK may collect a small share of sales from some of the links on this page, though it doesn’t influence our product picks. Retail prices are accurate as of the day of publication but may increase or decrease. Look out for sales!
Ninja Creami Deluxe 11-in-1 Ice Cream and Frozen Treat Maker | $250 at Amazon
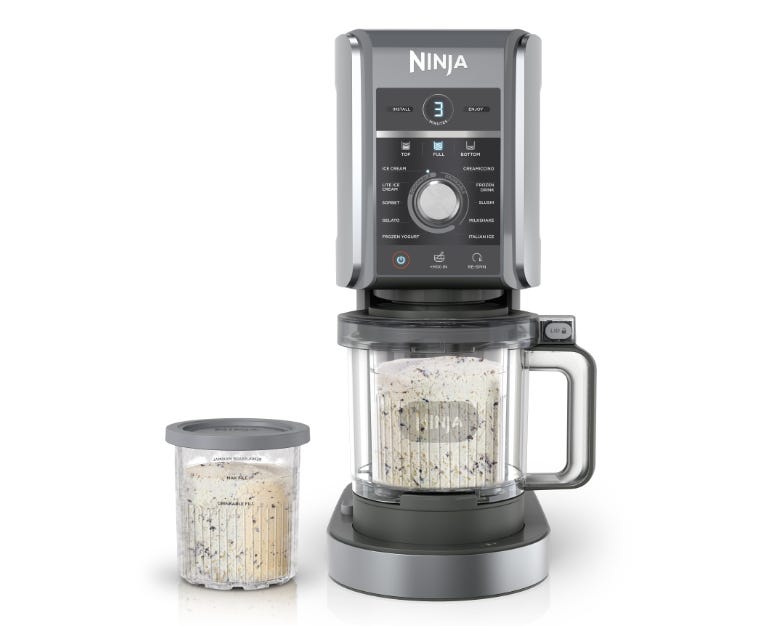
The Ninja Creami takes a frozen canister of home-blended ingredients and mills it using a “creamerizer blade,” which shaves off fine layers and adds air as it goes, so you can make creamy ice cream out of all kinds of low-fat ingredients in 4 minutes or less. Previously, this technology was only available to professional chefs, with machines costing upwards of $6,000.
Pros:
- Produces creamy, restaurant-quality ice cream. (My husband kept saying, “It’s the texture that’s so good.”)
- Feels sturdy and is easy to clean.
- Solves the problem of rock-hard leftovers—just process them again, using the Re-spin function.
- Comes with two containers that don’t take up much space in the freezer, so you can have two flavors going at once. (Note that although Ninja calls these canisters “pints,” the Deluxe model canisters are actually 24 ounces.)
- Beyond frozen fruit, you can use a wide variety of ingredients, such as oats, nuts, sweet potato, and silken tofu.
- Final processing is quick—4 minutes or less.
- You can choose to spin a half or a whole canister, which helps with portion control.
Cons:
- It’s another appliance to store.
- The price point: Not everyone wants to part with $230 for homemade ice cream.
- You need to prepare a smoothie-like batter and freeze it for 24 hours before processing in the Creami.
- The blade needs to come down on a flat surface. This means the canister needs to be on a flat surface in your freezer, and before processing it, you need to scrape away the central mound that forms during freezing. Jump to Ninja Creami Recipes and Tips for Adapting Recipes
Vitamix A2500 Ascent Series Smart Blender | $350 at Amazon
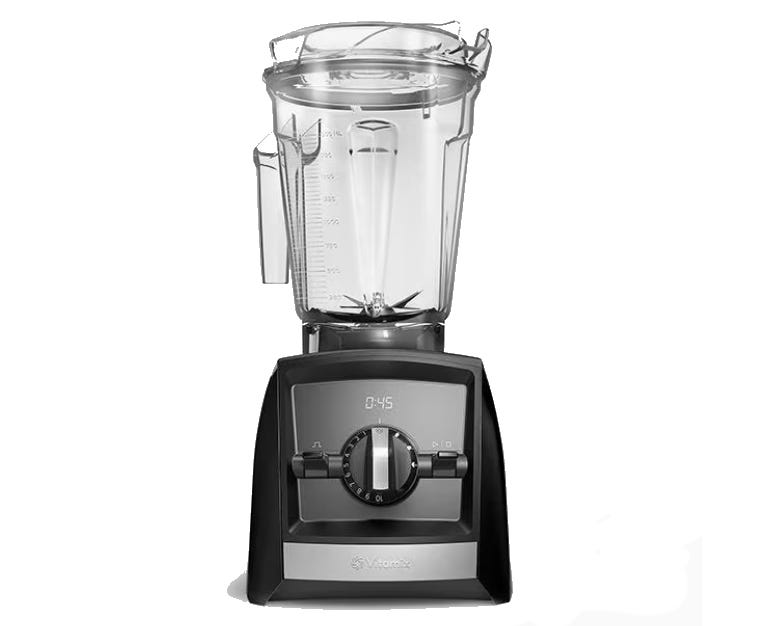
The Vitamix and other high-speed blenders have strong blades and powerful motors that can quickly blend frozen fruit into soft-serve style nice cream.
Pros:
- Easy to use.
- Can make healthy soft-serve style sorbet or nice cream with just frozen fruit; no processed sugar or high-fat ingredients required.
- Wide range of uses, making it worth the counter space.
Cons:
- Leftovers harden in the freezer, making it difficult to get a scoop.
- You need to plan ahead so that you have frozen ingredients ready to go.
- Ingredient choice is limited in that you need mostly frozen sliced fruit; liquids must be used sparingly or you end up with a smoothie.
Yonanas 988B Deluxe | $86 at Amazon
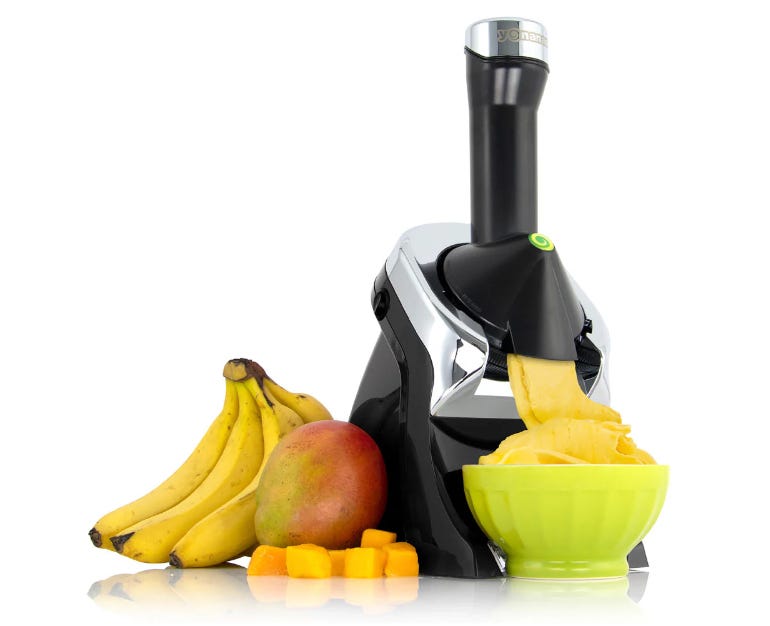
The Yonanas is one of a number of appliances dedicated to making soft-serve-style sorbet or nice cream from frozen fruit. You push chunks of frozen fruit down a chute using a plunger, where it’s forced past a spinning blade. In addition to the Deluxe model pictured above, Yonanas also offers the 902 Classic model at $39.
Pros:
- Easy to use.
- Makes healthy frozen fruit ice cream without processed sugar or high-fat ingredients.
- Relatively low cost.
- Suitable for kids (with supervision), and they love using it.
Cons:
- Another appliance you have to store.
- If you already have a high-speed blender and kid-friendliness isn’t a concern, there really is no need for this.
- Ingredients are limited to just frozen fruit, such as bananas (hence the name).
- Some of the frozen puree gets stuck inside and wasted.
Cuisinart Food Processor | $318 at Amazon
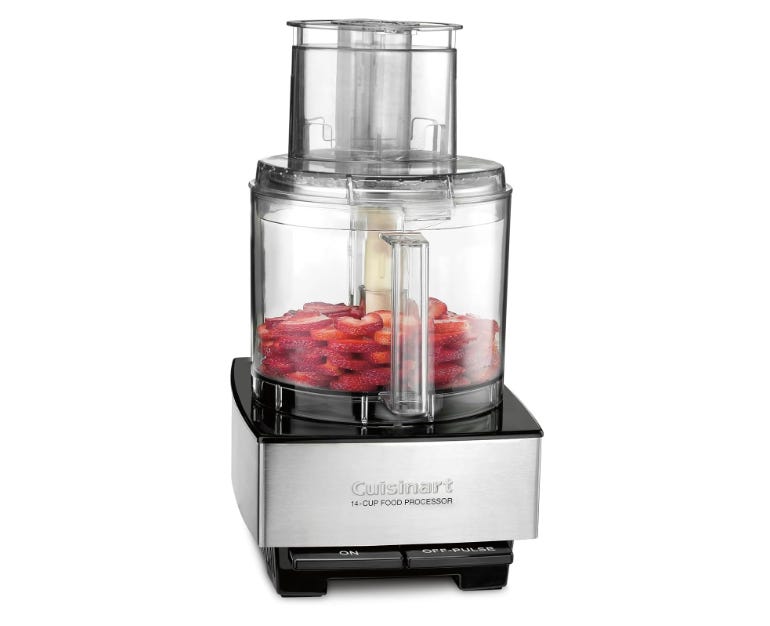
If you don't have a high-speed blender, a food processor such as the tried-and-true Cuisinart, can be used to make nice cream.
Pro:
- Wide range of uses.
Cons:
- The blade is not as strong as on a high-speed blender and you may shorten the life of the appliance by trying to blend frozen ingredients.
- The fruit gets stuck; you have to stop processing to open the lid and loosen the pieces.
- A lot of cleanup for a small amount of ice cream.
- Leftovers freeze into a solid block.
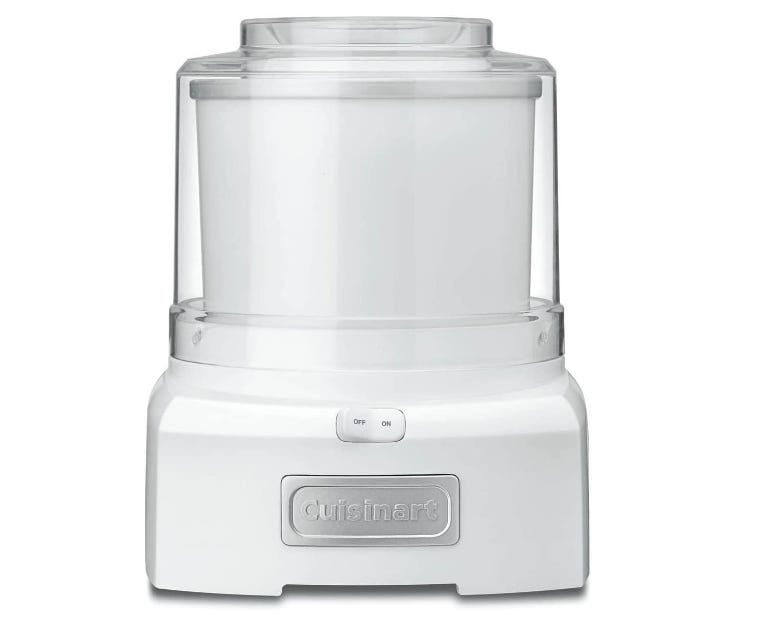
Cuisinart Ice Cream Maker Machine, 1.5 Quart | $80 at Amazon
In my forays into making healthy vegan ice cream, I found this popular home ice cream maker to be the least useful of all the methods. It uses a large bowl, with water-filled sides, that must be frozen before use. To make ice cream, you pour liquid into the bowl, add the paddle and a cover, and leave it to churn for 20 minutes.
Pros:
- At under $75, this is a relatively affordable countertop appliance.
- Produces scoopable ice cream.
Cons:
- With no blending function, it can’t make nice cream; it typically requires high-fat liquid ingredients, such as cream and milk, for best results.
- The bowl is large and takes up valuable freezer space.
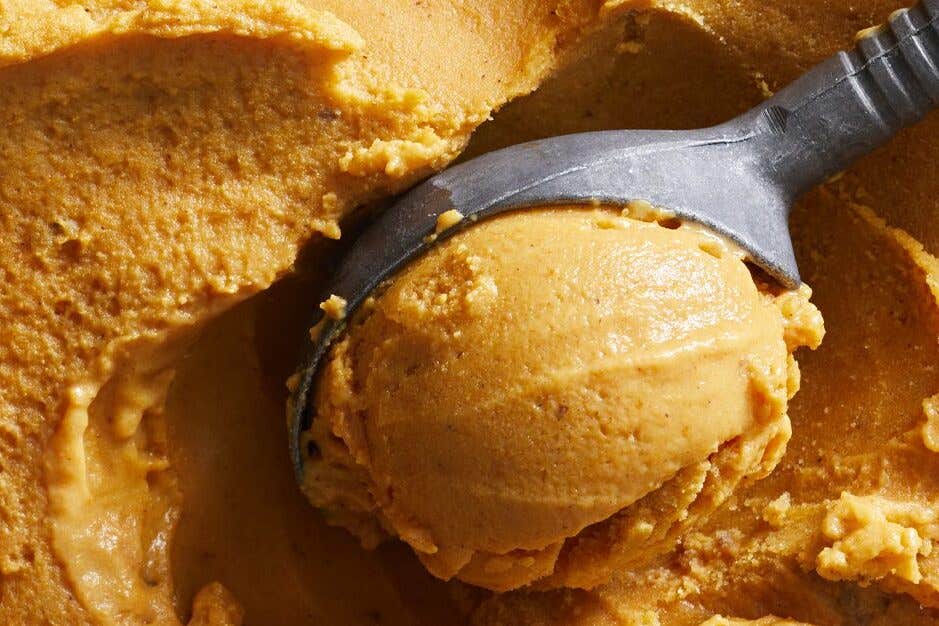
- The texture is inconsistent (though it did a reasonably good job whipping up this Pumpkin Ice Cream recipe).
- Leftovers harden in the freezer.
- Compared with the Ninja Creami, processing time is slow.
Summary
Our top pick for making vegan ice cream and nice cream at home was the Ninja Creami. The ease of use plus the creamy texture of the ice cream made it a clear winner. But if you’re just looking to make soft-serve-style nice cream with frozen fruit, the Vitamix (or another high-speed blender) is an excellent option. The low cost of the Yonanas, and the fact that kids love using it, is appealing to families as a gateway appliance to experience the magic of nice cream. Traditional home ice cream makers, modeled after the old-fashioned churn method, aren’t ideal for making healthy vegan ice cream.
Ninja Creami Recipes
The following recipes make about 3 cups of ice cream and fit the Ninja Creami Deluxe. If you’re using the Ninja Creami Classic model—which uses a smaller, 16-ounce canister—reduce the volume of ingredients by about a third (or just make the full 3 cups and process it in two batches).
Ninja Creami Chocolate Ice Cream with Frozen Raspberries
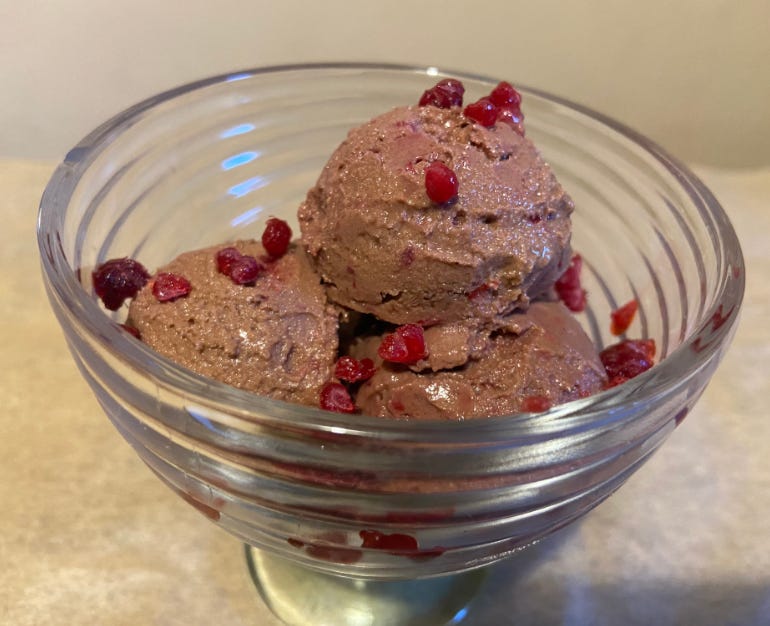
With a silken tofu base and cocoa powder adding rich chocolaty flavor, this Ninja Creami vegan chocolate ice cream rivals any boutique chocolate ice cream at a fraction of the cost and with no animal products or processed sugar. Enjoy plain or with frozen raspberries mixed through. (Frozen berries are better than fresh as they hold their shape.) Use less cocoa for a less intense chocolate flavor. Makes 3 cups
Ingredients
- 12 oz. silken tofu (soft, firm, or extra firm), drained
- 1 cup unsweetened, unflavored plant-based milk
- ¼ cup + 1 tablespoon unsweetened cocoa powder
- ¼ cup pure maple syrup
- 2 Medjool dates, pitted and chopped
- 1 teaspoon pure vanilla extract
- ¼ teaspoon sea salt (optional)
- ½ cup frozen raspberries (optional)
Instructions
- Combine the first seven ingredients in a blender and process until smooth.
- Pour into the Ninja Creami canister and freeze for 24 hours or until solid, making sure the container sits on a flat surface in your freezer.
- After 24 hours, open the canister. It’s important that the mix is level across the top, so be sure to scrape off any frosty peaks or uneven areas.
- Turn on the Ninja Creami. Remove the outer bowl and place the canister inside the bowl, then insert it back into the machine. Select Full. Select Lite Ice Cream. Press the center knob to start processing.
- Remove and open the canister. Push down on the ice cream with the back of a spoon. If you find ice crystals on the inside of your container, or if your mix is powdery, scrape down the sides, level the top of the mix, and process again using the Re-spin cycle.
- To mix in frozen raspberries (optional): With a spoon, create a 1½-inch wide well that reaches down through the canister. Pour raspberries into well. Return the canister to the Ninja Creami and select Full, then Mix-in.
Ninja Creami Strawberry Ice Cream
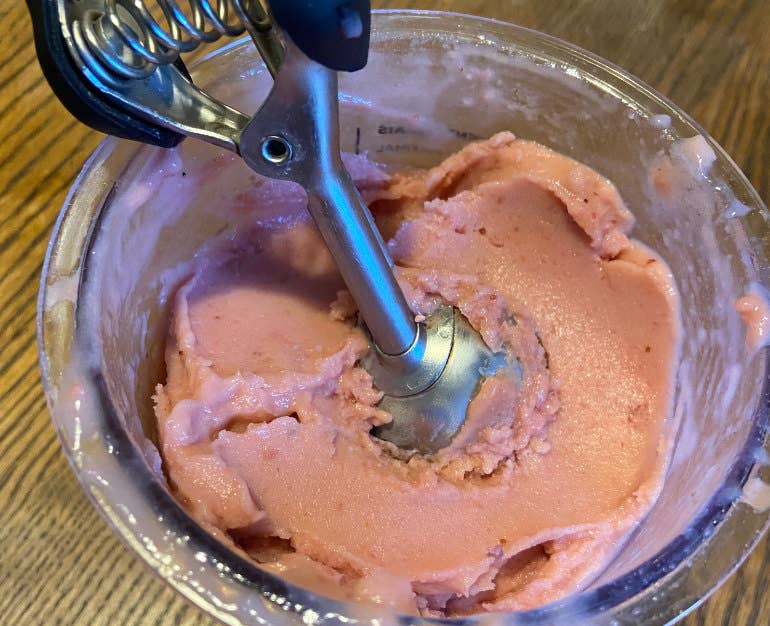
The secret to this fragrant strawberry ice cream is to cook the strawberries for a few minutes to intensify the strawberry flavor. Baked white sweet potatoes add creaminess and natural sweetness. Be sure to use ripe, in-season strawberries. Makes 3 cups
Ingredients
- 2 tablespoons raw cashews (optional)
- 2 cups fresh strawberries, hulled and roughly chopped
- 3 tablespoons pure maple syrup
- 1 tablespoon lemon juice
- 1 cup baked white sweet potato, peeled and chopped
- 1½ cups unsweetened, unflavored plant-based milk
- 1 teaspoon pure vanilla extract
- ¼ teaspoon sea salt (optional)
Instructions
- Pour boiling water over cashews, and leave to soak at least 10 minutes.
- Meanwhile, place strawberries, maple syrup, and lemon juice in a medium saucepan and heat for about 5 minutes or until the strawberries soften, stirring frequently. Let cool for 5 minutes.
- Transfer strawberries to a blender. Drain the cashews; add to blender along with all remaining ingredients. Process until smooth.
- Pour blended mixture into the Ninja Creami canister and freeze for 24 hours or until solid, making sure the container sits on a flat surface in your freezer.
- After 24 hours, open the canister. It’s important that the mix is level across the top, so be sure to scrape off any frosty peaks or uneven areas.
- Turn on the Ninja Creami. Remove the outer bowl and place the canister inside the bowl, then insert it back into the machine. Select Full. Select Lite Ice Cream. Press the center knob to start processing.
- Remove and open the canister. Push down on the ice cream with the back of a spoon. If you find ice crystals on the inside of your container, or if your mix is powdery, scrape down the sides, level the top of the mix, and process again using the Re-spin cycle.
Ninja Creami Pumpkin Ice Cream
Adapted from a recipe by Carla Christian, RD, LD
Made with silken tofu and pumpkin puree, and sweetened with a combination of dates and maple syrup, this fall-flavored ice cream has just a handful of ingredients and tastes surprisingly like the “real deal.” My husband said it was the best pumpkin ice cream he’s ever had. Makes 3 cups
Ingredients
- ¼ cup pure maple syrup
- 2 tablespoons finely chopped pitted whole dates
- 1 15-oz. can pure pumpkin puree
- 1 14-oz. package firm, light silken-style tofu
- 1 teaspoon pure vanilla extract
- ½ teaspoon ground cinnamon
Instructions
- In a small saucepan bring maple syrup and dates just to boiling. Remove from heat. Cover and let stand for 20 minutes.
- In a blender or food processor combine date mixture and the remaining ingredients. Cover and blend or process until smooth. Pour into the Ninja Creami canister and freeze for 24 hours or until solid, making sure the container sits on a flat surface in your freezer.
- After 24 hours, open the canister. It’s important that the mix is level across the top, so be sure to scrape off any frosty peaks or uneven areas.
- Turn on the Ninja Creami. Remove the outer bowl and place the canister inside the bowl, then insert it back into the machine. Select Full. Select Lite Ice Cream. Press the center knob to start processing.
- Remove and open the canister. Push down on the ice cream with the back of a spoon. If you find ice crystals on the inside of your container, or if your mix is powdery, scrape down the sides, level the top of the mix, and process again using the “Re-spin” cycle.
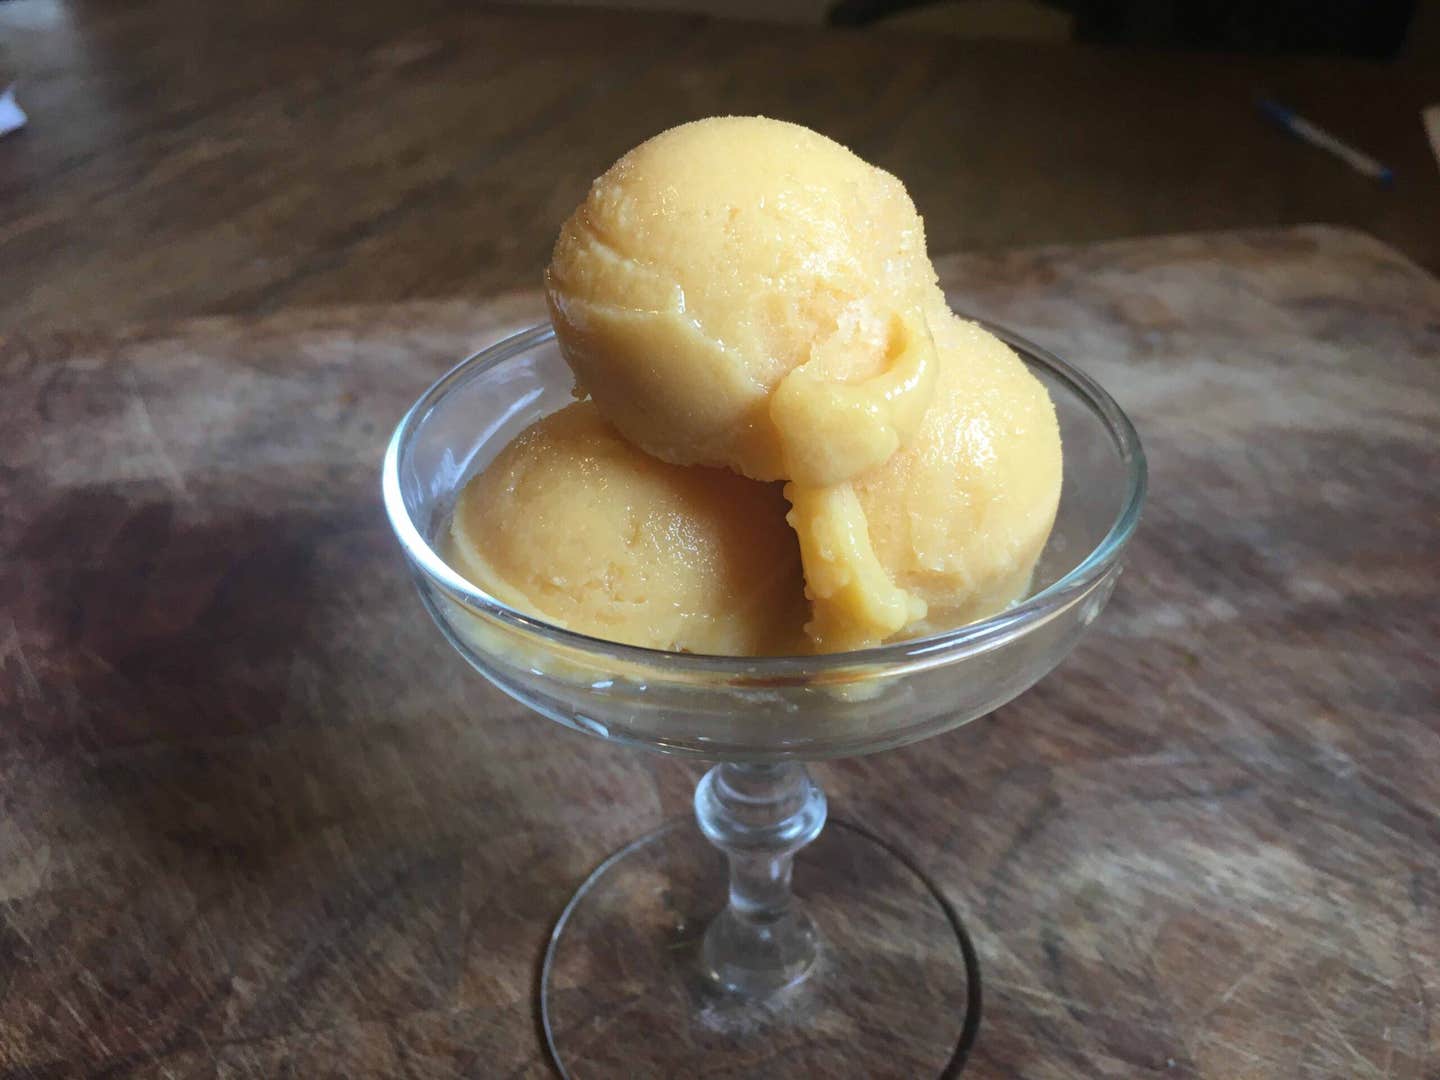
Ninja Creami Cantaloupe Ice Cream

Sweet, light, and creamy, this easy four-ingredient cantaloupe ice cream tastes decadent and refreshing. For best results, use a very ripe cantaloupe. Makes 3 cups
Ingredients
- 2 cups very ripe cantaloupe
- 1½ cups unsweetened, unflavored plant milk
- 1 to 2 tablespoons pure maple syrup (optional)
- 2 teaspoons pure vanilla extract
- ¼ teaspoon sea salt (optional)
Instructions
- Combine all the ingredients in a blender and process until roughly smooth. (Some chunks are OK.) Taste the mix and add another tablespoon of maple syrup if it’s not sweet enough.
- Pour into the Ninja Creami canister and freeze for 24 hours or until solid, making sure the container sits on a flat surface in your freezer.
- After 24 hours, open the canister. It’s important that the mix is level across the top, so be sure to scrape off any frosty peaks or uneven areas.
- Turn on the Ninja Creami. Remove the outer bowl and place the canister inside the bowl, then insert it back into the machine. Select Full. Select Lite Ice Cream. Press the center knob to start processing.
- Remove and open the canister. Push down on the ice cream with the back of a spoon. If you find ice crystals on the inside of your container, or if your mix is powdery, scrape down the sides, level the top of the mix, and process again using the Re-spin cycle.
Ninja Creami Watermelon Basil Ice
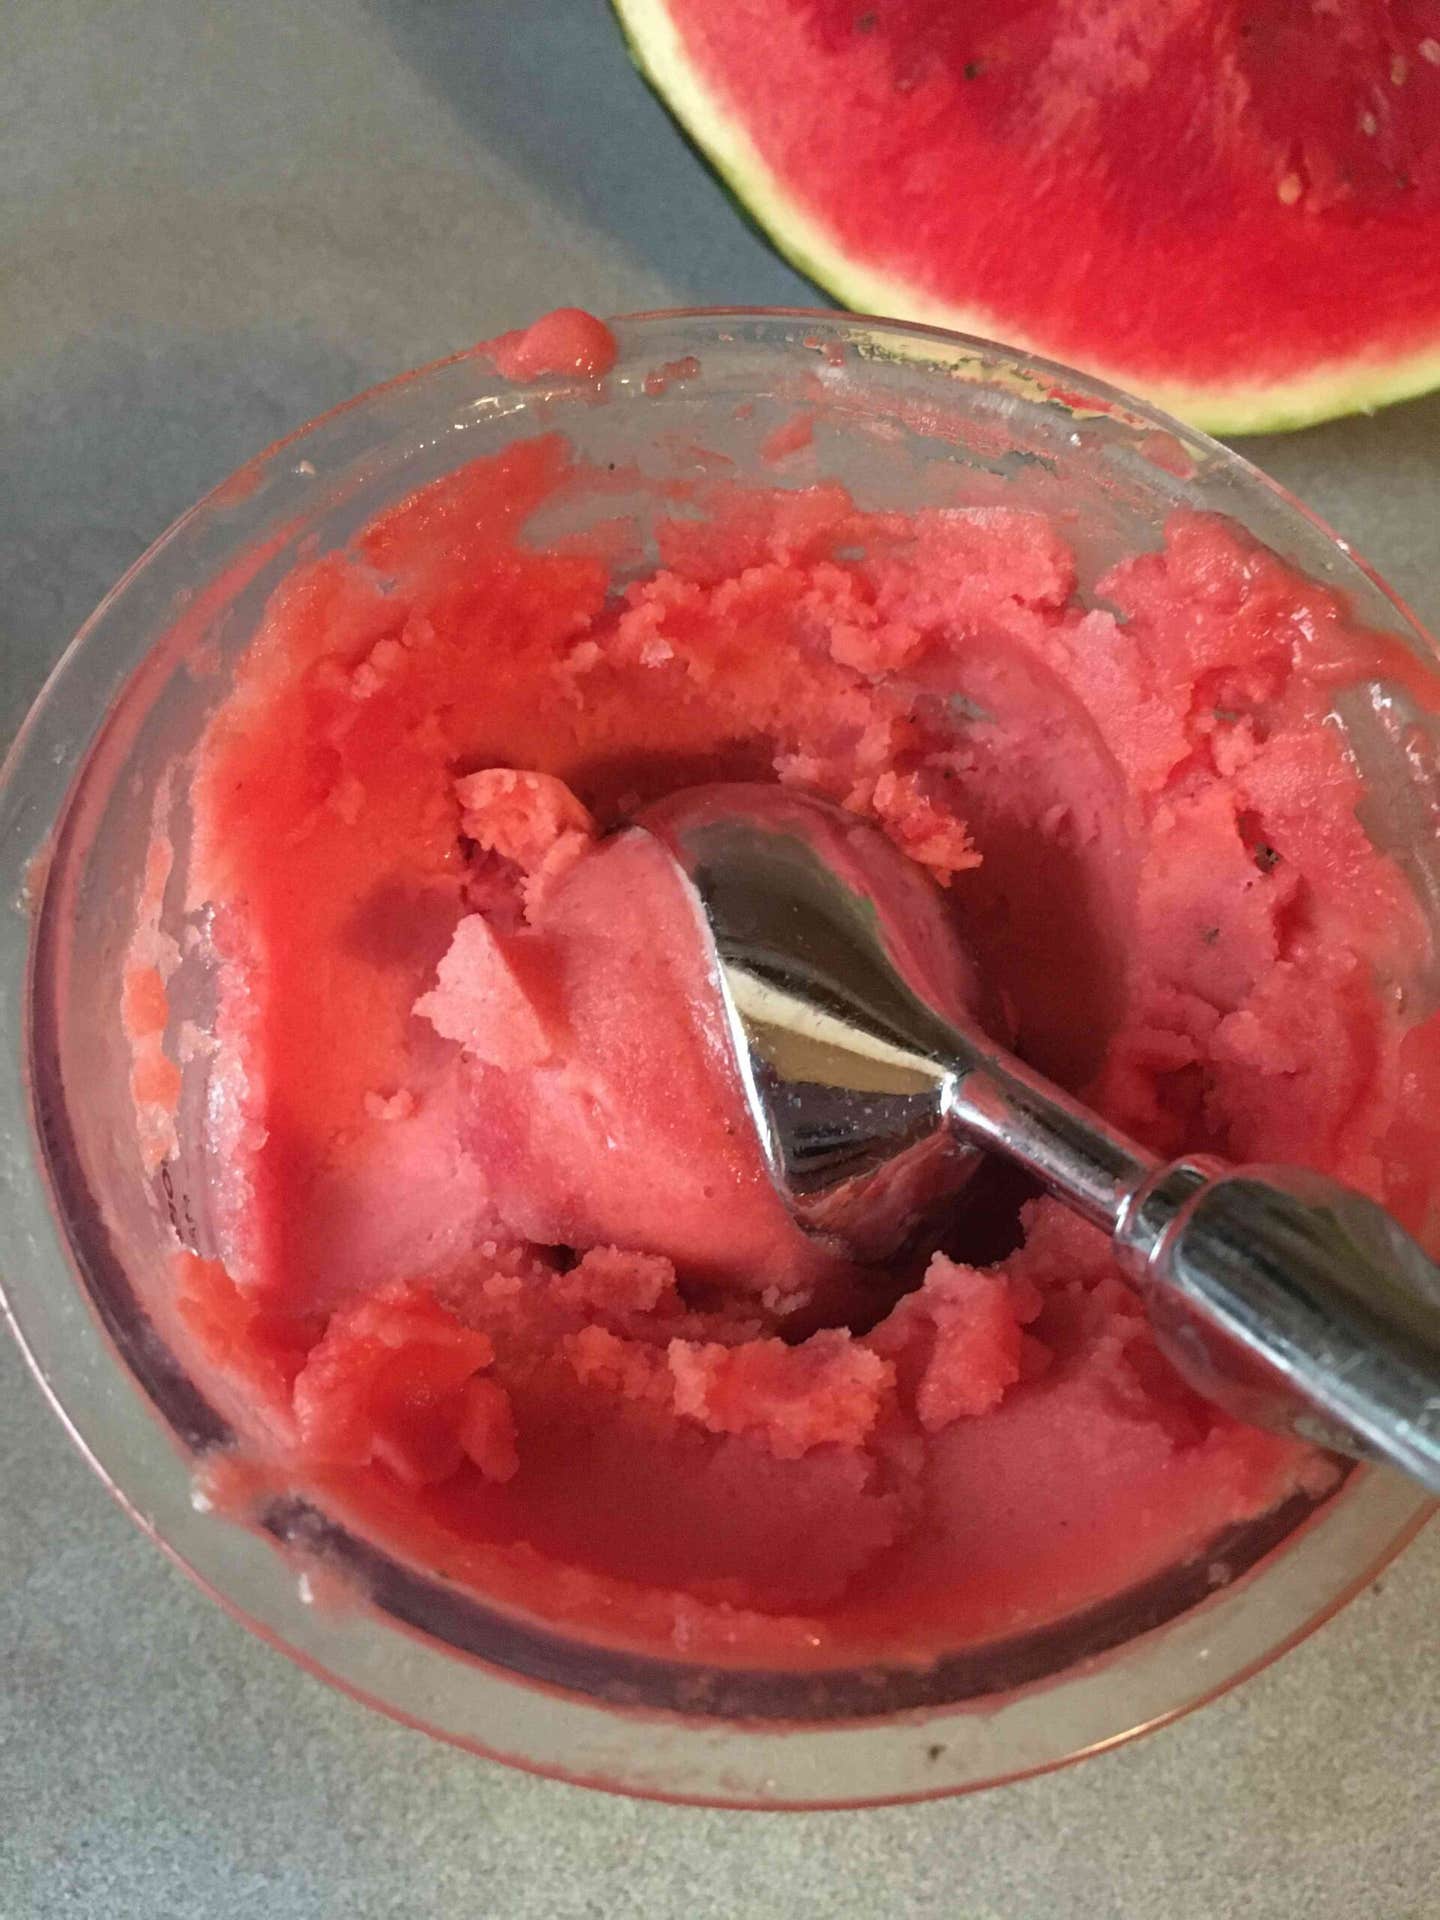
Perfectly scoopable and instantly refreshing, this sweet watermelon sorbet is the perfect way to cool down on a summer’s day. Makes about 3 cups
Ingredients
- 4 cups watermelon
- 1 tablespoon lemon juice
- 8 leaves fresh basil
Instructions
- Combine all the ingredients in a blender and process until roughly smooth.
- Pour watermelon puree into the Ninja Creami canister and freeze for 24 hours or until solid, making sure the container sits on a flat surface in your freezer.
- Open the canister. It’s important that the mix is level across the top, so be sure to scrape off any frosty peaks or uneven areas.
- Turn on the Ninja Creami. Remove the jug and place the canister inside the jug, then insert it back into the machine. Select Full. Select Sorbet. Press the center knob to start processing.
- Remove and open the canister. Push down on the ice cream with the back of a spoon for a creamy texture. If you find ice crystals on the inside of your container, or if your mix is powdery, scrape down the sides, level the top of the mix, and process again using the Re-spin cycle.
Ninja Creami Peach Ice Cream
This fruity peach ice cream recipe takes the classic Ninja Creami “can of peaches” recipe (where you process two cans of peaches) a step further, with plant-based milk adding extra creaminess. Makes 3 cups
Ingredients
- 3 cups fresh (or thawed frozen) peaches
- 1 cup unsweetened, unflavored plant-based milk
- 1 tablespoon lemon juice
- 1 teaspoon pure vanilla extract
Instructions
- Combine all the ingredients in a blender and process until roughly smooth.
- Pour into the Ninja Creami canister and freeze for 24 hours or until solid, making sure the container sits on a flat surface in your freezer.
- Open the canister. It’s important that the mix is level across the top, so be sure to scrape off any frosty peaks or uneven areas.
- Turn on the Ninja Creami. Remove the jug and place the canister inside the jug, then insert it back into the machine. Select Full. Select Lite Ice Cream. Press the center knob to start processing.
- Remove and open the canister. Push down on the ice cream with the back of a spoon for a creamy texture. If you find ice crystals on the inside of your container, or if your mix is powdery, scrape down the sides, level the top of the mix, and process again using the Re-spin cycle.
Can You Make Nice Cream Recipes in the Ninja Creami?
If you’ve been whipping up nice cream in a blender or food processor, you might be wondering if you can use the same recipes with the Ninja Creami. Most nice cream recipes would be easy to adapt for the Ninja Creami and are a great place to start. Feel free to get creative, adding plant-based milk or water if extra volume is needed. Just remember to make sure that the mixture in your Ninja Creami canister is level across the top before processing it, with no bits of hard frozen fruit sticking up. You want a solid block of ingredients to spin.
Happy ice cream making!

Related News


New Frozen Meals!
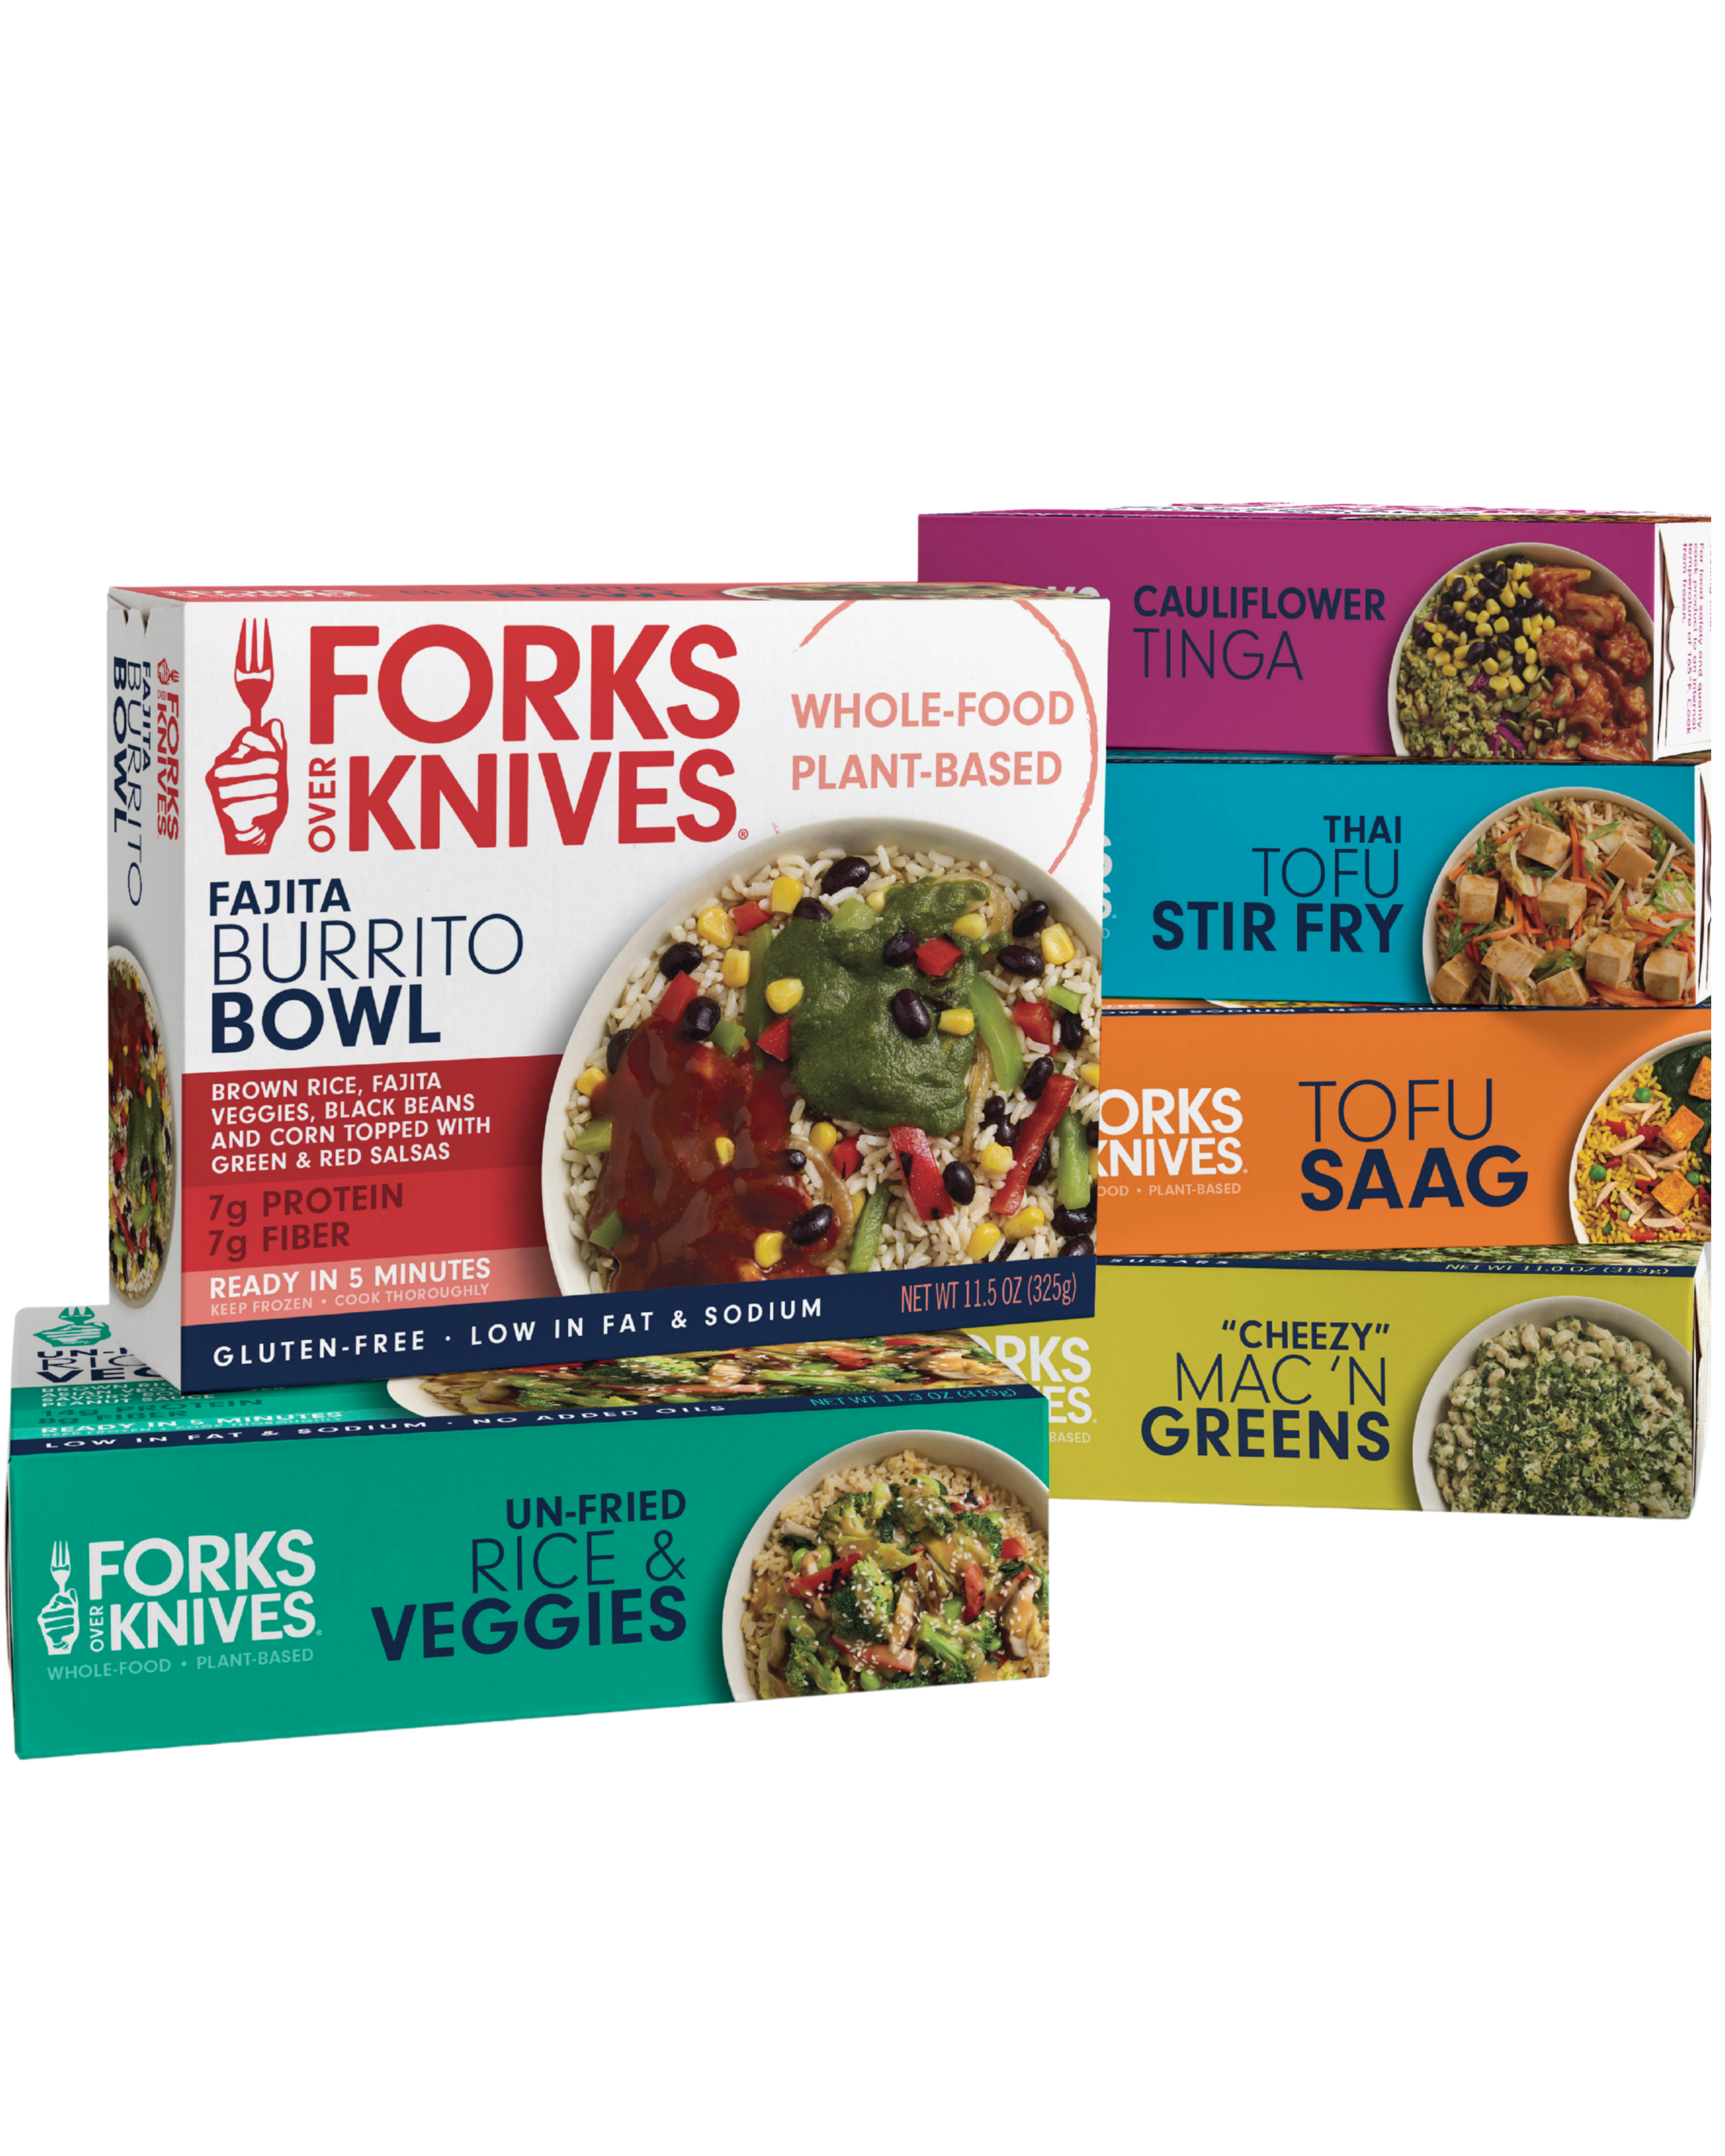
Introducing our new frozen meals: Doctor-recommended, chef-crafted, & ready in minutes.